


Whether you want to make one of my ready-to-download crochet photo patterns or have a pattern created from a personal photo, you probably already have an idea of how you’ll use the piece when it’s finished and about how big it needs to be to accommodate your chosen use.
But you may also want to figure out the number of rows and stitches you’ll need to crochet to get the size you want.
Knowing this information beforehand will not only help you create a piece that’s the size you want, you’ll be able to approximate how long it will take to finish the pattern. If your time is limited, you don’t want to be crocheting a 150-row piece. On the other hand, if you’re creating a piece for yourself and time isn’t an issue, you may want to tackle a large piece.
All It Takes Is 4 Easy Steps
It’s easy to determine how many rows and stitches the pattern needs to have in order to crochet a piece of any size. You’ll need to answer some preliminary questions, make a gauge swatch, decide on borders, and do some simple math calculations. Let’s look at each of these steps in more detail.
Step 1: Answer Some Preliminary Questions.
You need to answer a few questions first in order to create a crocheted piece that is as close as possible to the finished dimensions you need for the use you have in mind.
What function will your finished piece serve?
In other words, how do you intend to use it? You need to answer this question so you can determine how big your piece needs to be.
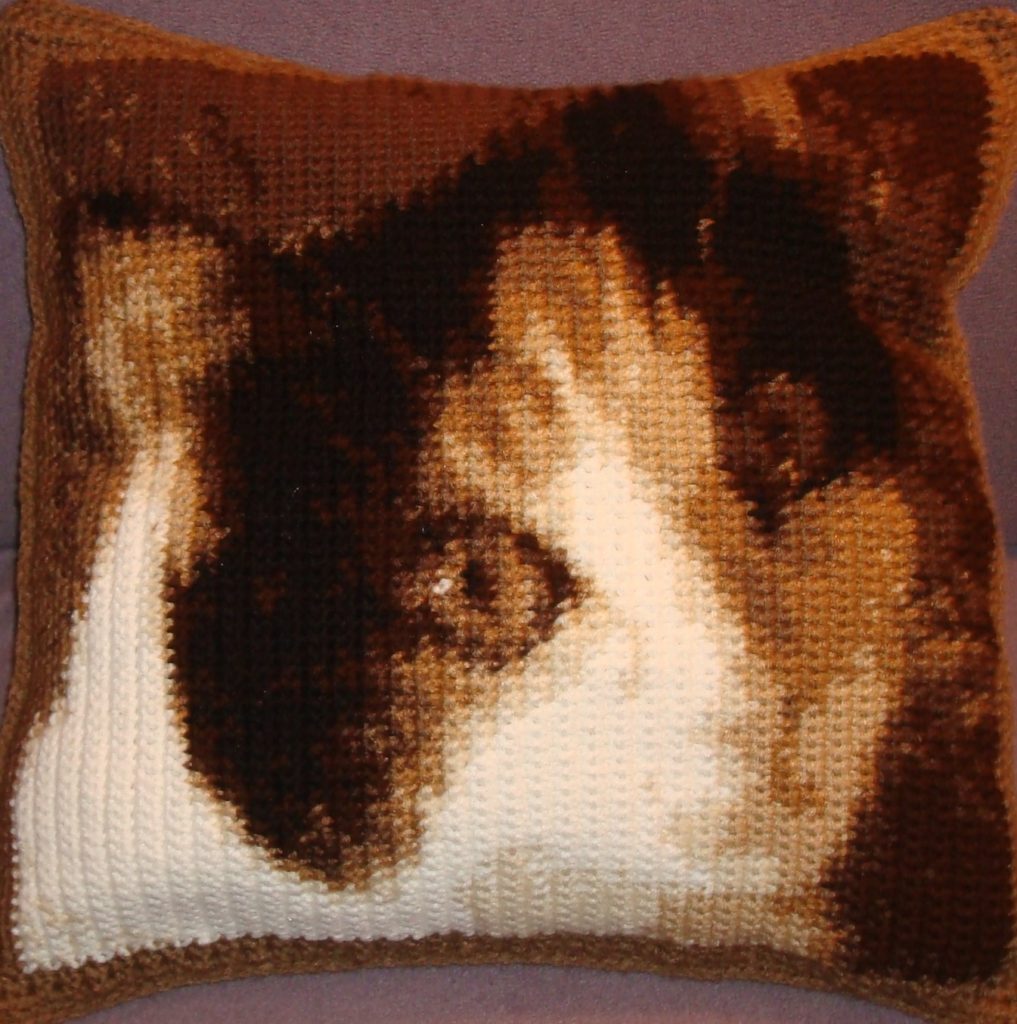
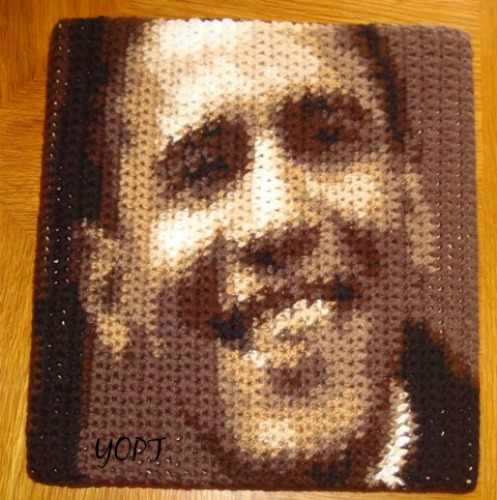
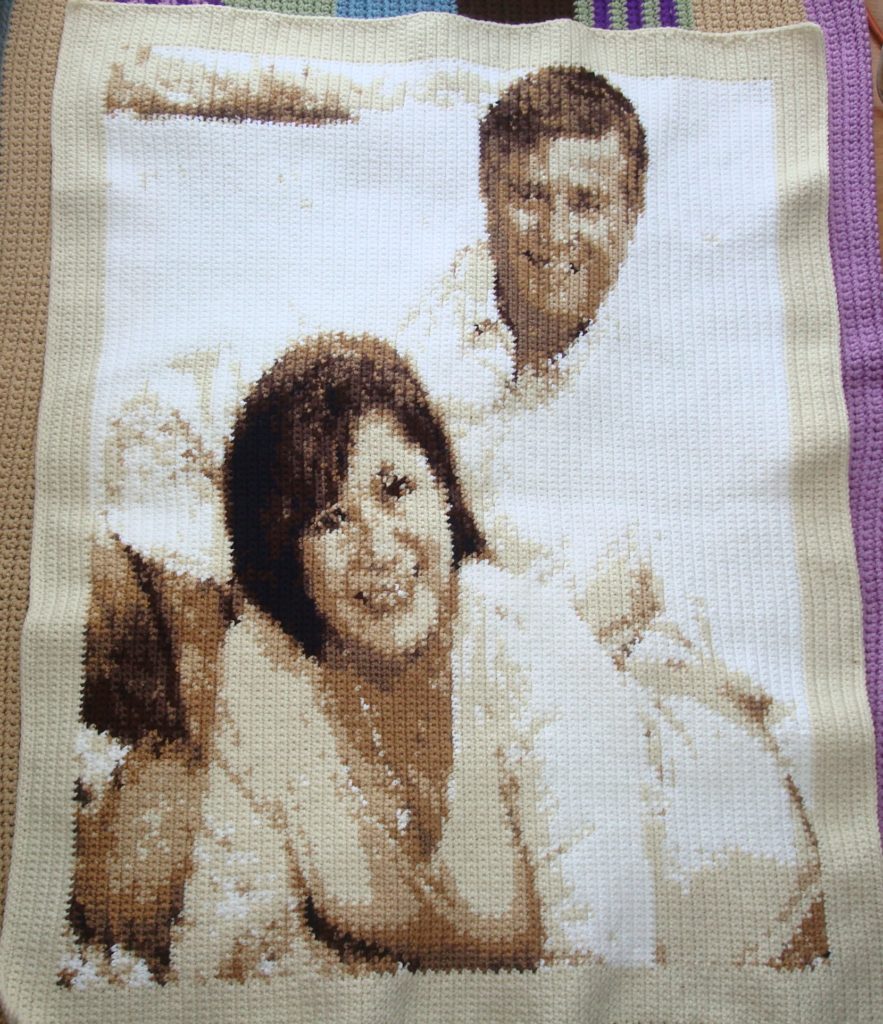
Whether for personal use or as a gift, you can turn a crochet photo pattern piece into a pillow, a framed wall hanging, a baby blanket or larger afghan, or a handbag that’s beautiful as well as functional. You can even create crochet photo pattern pieces to sell in order to earn some extra income.
How big does the piece need to be for your intended use?
And by “how big” I mean the exact dimensions conveyed in inches of the length and width.
Will the finished piece have a border?

This means the photo image will cover the entire surface of the finished piece, or it will be centered in the middle and surrounded by a border of a certain size. Borders can be added once the piece is done or as you crochet it (my preferred method).
Step 2: Create a Gauge Swatch.
I can hear the moans and groans already. Do I have to swatch? Yes, you do because the swatch will provide the input for the math you need to do in Step 4. It’s not hard to do a swatch; it just takes time.
A gauge swatch will tell you how many rows and stitches you’ll need to crochet per inch which, in turn, will enable you to calculate the number of rows and stitches needed to crochet a finished piece the size you want.
Crochet photo patterns use worsted-weight, acrylic yarn and a hook size anywhere from an F/3.5 mm to an H/5.00 mm hook. Your hook size will determine the relative size of your stitches. A smaller hook will produce smaller stitches; a bigger hook will give you bigger stitches and a larger piece.
If you’re going to stretch the piece over a frame, use a smaller hook (F or G) to get tight stitches that will stand up under the pressure of stretching. You might also choose a smaller hook for handbags to create a sturdy fabric. For pillows and afghans, a G/4.00 mm or H/5.00 mm hook should work well.
Make a 6” square of single crochet stitches so you can measure over 4”. And use a hard edge like a ruler or “knit check,” as tape measurers tend to stretch over time and produce inaccurate results. Write all of your results down so you don’t forget them.
The following video demonstrates how to count single crochet rows and stitches over 4”.
When you have the number of rows and stitches per 4”, divide each by 4 to get the number of rows and stitches per inch.
Step 3 – Decide on a Border.
This step is a little misleading because my finished pieces almost always have a border. Even when I want the image to cover the entire surface, I add a small number of stitches (1-3) to the foundation chain to make it easy to change colors at the beginning and end of rows. This means I’ll need 1-3 rows on the other two sides to complete the border. Each crochet photo pattern explains how to incorporate this kind of border into your piece.
You’ll definitely need a border if you are:
- Framing your piece where the border is NOT part of the piece but needed to stretch over the frame (5 – 6 rows and stitches works well).
- Creating a “framed portrait” where the frame is a part of the piece.
- Extending the surface of the piece to create a throw or afghan.
For the last two uses, you need to decide how wide and long you want your border and how wide and long you want the image. Those two figures together will give you the finished dimensions of the entire surface of your piece.
Check out this article for details on how to add a border to your piece.
Step 4 – Do the Math.
Doing the math is simply a matter of calculating the number of rows and stitches per inch needed to produce the size of the finished piece you want. The calculations differ depending on whether you want to include a border.
No Border
a) Specify the length and width of your finished piece.
b) Use your gauge to calculate the number of rows and stitches per inch.
EXAMPLE
You are making a wall hanging with the image of your newborn grandchild on it. You want a piece that’s about 15”x 15”. You’ve decided to use an F/3.50 mm hook which gives you a gauge of 20 rows and stitches per 4” inches.
20 divided by 4 = 5 rows/stitches per inch.
In order to create your 15” x 15” wall hanging multiply 5 x 15, which gives you 75 rows and 75 stitches per inch.
By the way, 60 rows is the smallest crochet photo pattern I’ll create; any smaller and image details start to drop out.
Border
a) Specify the length and width of your finished piece.
b) Decide how large a border you want.
c) Use your gauge to calculate the number of rows and stitches needed for the border AND for the image.
EXAMPLE
You’ve decided to make a throw with the image of your favorite sports team centered in the middle. You want it to measure around 35” x 45”. And you want a 5” border surrounding the image. You’ve decided to use an H/5.00 mm hook which gives you a gauge of 16 rows/stitches per 4” inches.
16 divided by 4 = 4 rows/stitches per inch.
In order to create your 35” x 45” throw with the 5” border, you calculate the number of rows and stitches needed for the border and for the image separately:
- Border: Multiply 5 x 4 which gives you 20 rows and stitches for the border.
- Image: Multiply 30 x 4 = 120 rows for the width (you’re crocheting this piece from side to side) and 40 x 4 = 160 stitches for the length of the image.
You’ll be crocheting a total of 140 rows and 180 stitches to create the throw.
Take the Time to Do a Little Swatching and Easy Math BEFORE You Begin
Working up a gauge swatch and doing the math are the hardest parts of this process. And I hope I’ve shown you how easy they actually are to do. The time it takes to swatch and do some simple math calculations will result in a perfectly sized crochet photo pattern piece you’ll be proud of.
Click HERE to find out more about my custom-made crochet photo patterns.
3 comments On Figure Out the Dimensions of Your Crochet Photo Pattern Piece in 4 Easy Steps
I want to try to make my husband a picture blanket of my self I’m going to try what you said to do thank you for sharing
You’re welcome, Christina. If you have questions, you can email them to me at patrice@yarnoverpullthrough.com. Good luck!
Pingback: How do you figure out how many stitches per inch? - NeedleWork Creative ()