
(This page contains affiliate links. Thanks for your support.)
Here’s how I go about designing crocheted tops, wraps, scarves, and afghans, but I’ll use “garment” for the sake of convenience.
Note: My design process assumes that you are an advanced beginner to intermediate crocheter. I’ll be using terms that you should know, but if you don’t, you’ll need to do some research. If I find a good source for information, I’ll include a link to make it a bit easier for you.
Step 1: Decide what to design.
I’ve designed mostly tops based on squares and rectangles and wraps because they are pretty easy to do, and I can easily produce some really nice ones that look good on me. I get most of my inspiration online via Pinterest and fashion magazines.
What makes these pieces interesting are the stitch patterns I use.
Step 2: Choose a stitch pattern.
Once I’ve decided on a garment to design, I start thinking about the perfect stitch pattern to use. Again, Pinterest is a great place to find a wide variety of stitch patterns. You can also refer to stitch pattern books to decide which ones to use for your designs.
It’s a good idea to practice the stitch pattern before you use it in your crochet design to make sure you understand it completely. And be sure you understand the stitch pattern “multiple” because you’ll need it to create the right size foundation chains.
Step 3: Select yarn and hook size.
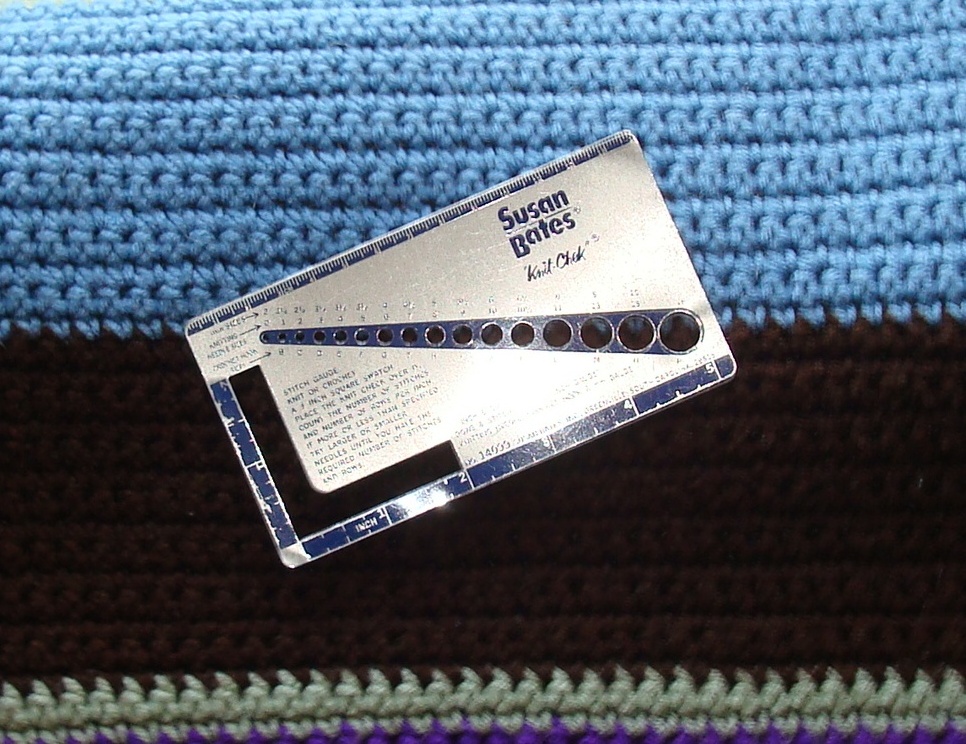
Here’s where that dreaded swatching comes in. In order to determine the perfect fabric for my design, I experiment with different yarns and hook sizes until I come up with the fabric I believe will be perfect for my design.
The swatches I create in my chosen stitch pattern are at least 8″ x 8, sometimes larger. They have to be large so I can determine if the fabric created is the right one for my design. The swatch gives me an idea of how stiff or soft and flowing the fabric will be.
Once I’ve chosen my yarn and hook size, I measure the swatch to get an accurate gauge (rows and stitches per inch). I use this information, along with my measurements, to create a garment that fits.
Now if your designing a wrap or afghan, gauge may not be all that important. But if your designing something you’re going to wear, creating swatches and determining gauge is a step you cannot leave out.
Step 4: Take your measurements.
Accurate measurements are essential to a good fit. The Craft Yarn Council has been my go-to source for guidance on the measurements I need to take and how to do it properly.
Once I’ve decide how I want my garment to drape, i.e., how tightly or loosely I want it to fit, I have a good idea of what the finished measurements are going to be. A tight fit will result in finished measurements that are close to my actually body measurements. If I want a looser drape, I simply add the number of inches to my measurements that will give me the drape and fit I want to achieve.
If you’re going to turn your design into a pattern with multiple sizes, you’ll need to “grade the pattern,” i.e. determine the finished measurements for each size you intend to include. Unfortunately, I have yet to find information on how to grade crochet patterns. When I do, I’ll be sure to add it here.
Step 5: Create a schematic of your garment.
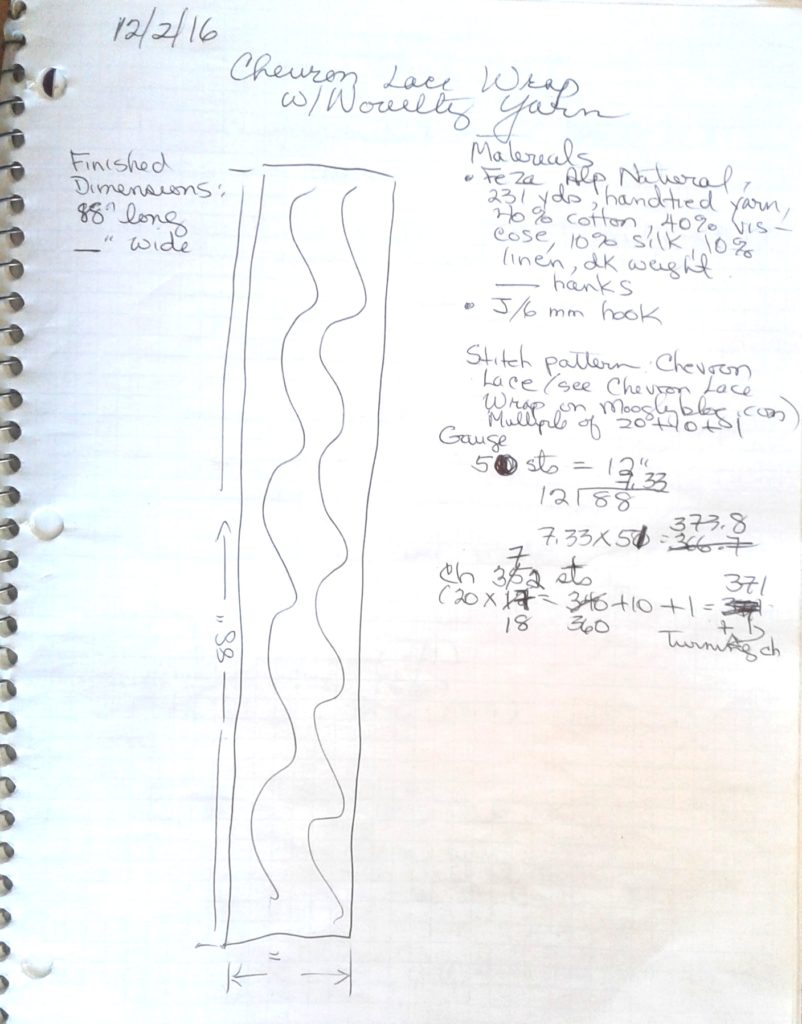
I’m no artist as you can see from the image above, so my schematics are pretty basic — a simple outline of the garment I’m designing. I create a schematic even if I’m designing a wrap or afghan.
The purpose of the schematic is to record the finished measurements of your design masterpiece. They ensure that your garment is the size you need it to be to fit you perfectly. The best place to include the schematic is in your design notes.
Step 6: Crochet Your Design.
Now it’s time to crochet. I may want to turn my design into a pattern, so I tend to take copious notes as I’m crocheting. I don’t necessarily record what I’ve done for each row, but I include enough information in my notes so that I can create a row-by-row pattern.
I also try to get as close to the finished measurements as possible. It’s okay if my finished piece is a little smaller than what the measurements call for because I can always block it to the finished measurements.
But if the piece is larger than the finished measurements, you’ll have to re-check your gauge and make the appropriate adjustments. Changing your hook size may be all you need to do.
Step 7: Block your piece to the finished measurements in the schematic.
This step isn’t always necessary, but it may be required to stretch out a lacy stitch pattern, for example. If I’ve used acrylic yarn, I will usually simply machine wash the piece in cold water with a mild detergent and gentle cycle, then machine dry it on low heat with a no-fragrance fabric softener sheet. The fabric softens and drapes nicely as a result.
For natural fibers, I wash and block the piece by hand. You’ll need adequate blocking supplies in order to do this.
Step 8: (Optional) Create a pattern for your piece.
If you’ve taken good notes, this step should be fairly easy to accomplish. The hardest thing you’ll do is grade the pattern (discussed in Step 4 above).
To help you turn your design into a pattern, I published an eBook that shows you step-by-step what’s involved in creating a pattern for publication.
If At First You Don’t Succeed …
I sometimes use a cheaper yarn the first time I crochet a design, selecting one that’s close in fiber and weight to the nicer (and more expensive) yarn I want for the design. If I don’t get the design exactly right, I haven’t wasted a lot of money, and I know what corrections to make when I crochet it in the nicer yarn.
So that’s how I’m currently designing crochet garments. Your finished piece may not turn out exactly as you imagined it, but that’s okay. Simply make whatever adjustments are necessary so that your next attempt comes closer to your ideal.
Select the Category “Crochet Design 101” in the Sidebar to read blog posts that feature my crochet design process in action.