
Aloha, and welcome to my website.
I’ve designed this site to provide you with the latest information that will take your crochet skills to the next level, no matter where you are on your crochet journey. This is especially true if you are a budding designer like me and/or a fiber artist who uses crochet as your preferred medium.
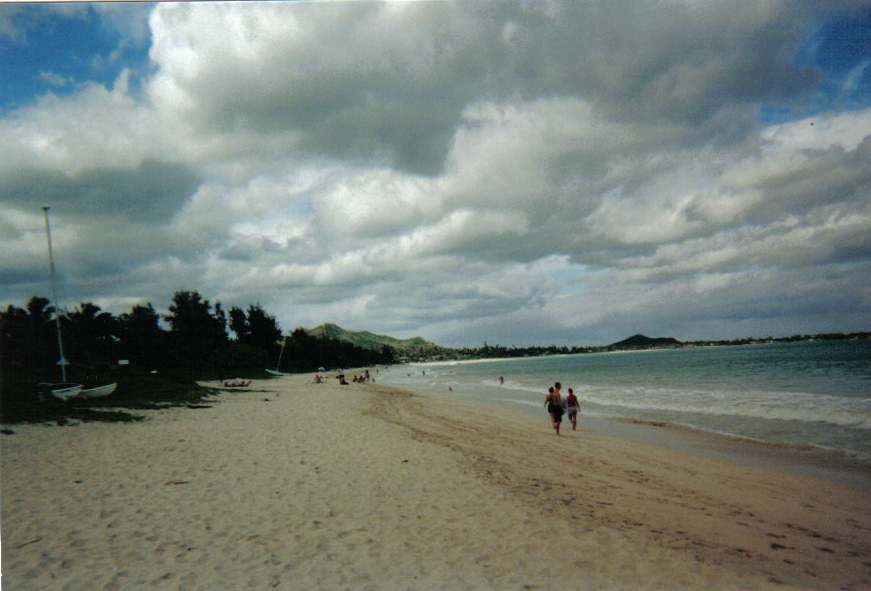
By the way, did I mention that I live on the beautiful island of O’ahu, Hawai’i? Yes, we crochet in Hawai’i! The photo is of Kailua Bay on the windward (east) coast. I love walking there when I’m not crocheting.
Below is a list of the main sections of Yarn Over, Pull Through.
Crochet Design 101
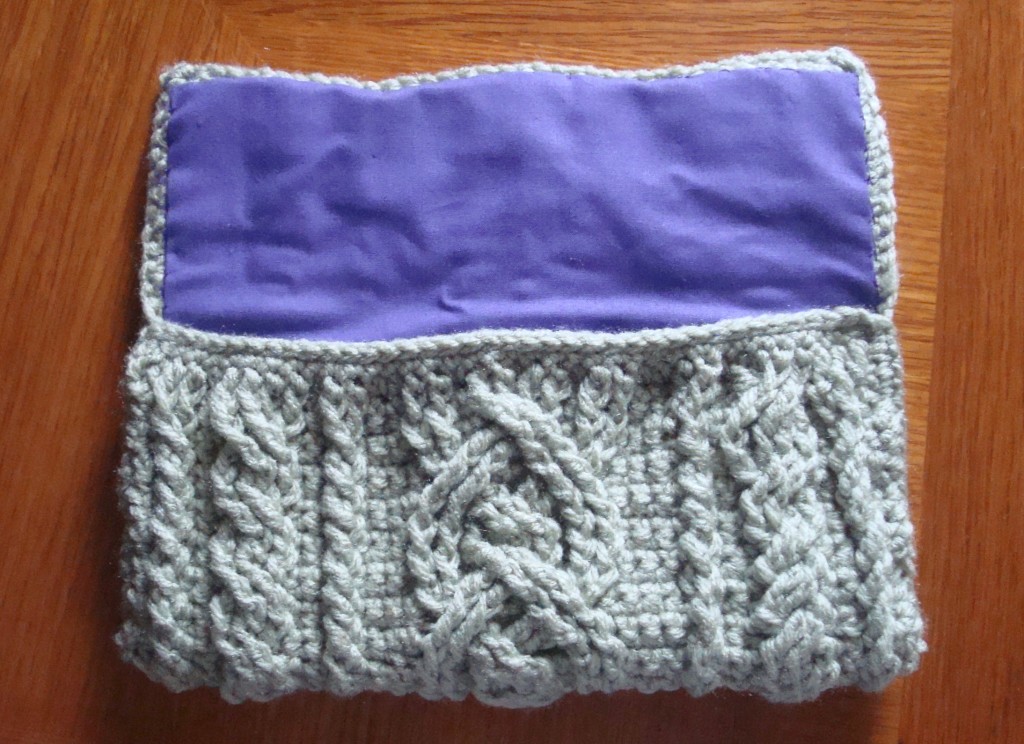
Come along for the ride as I discover the ins and outs of designing crochet garments for myself that you can apply to your own design process.
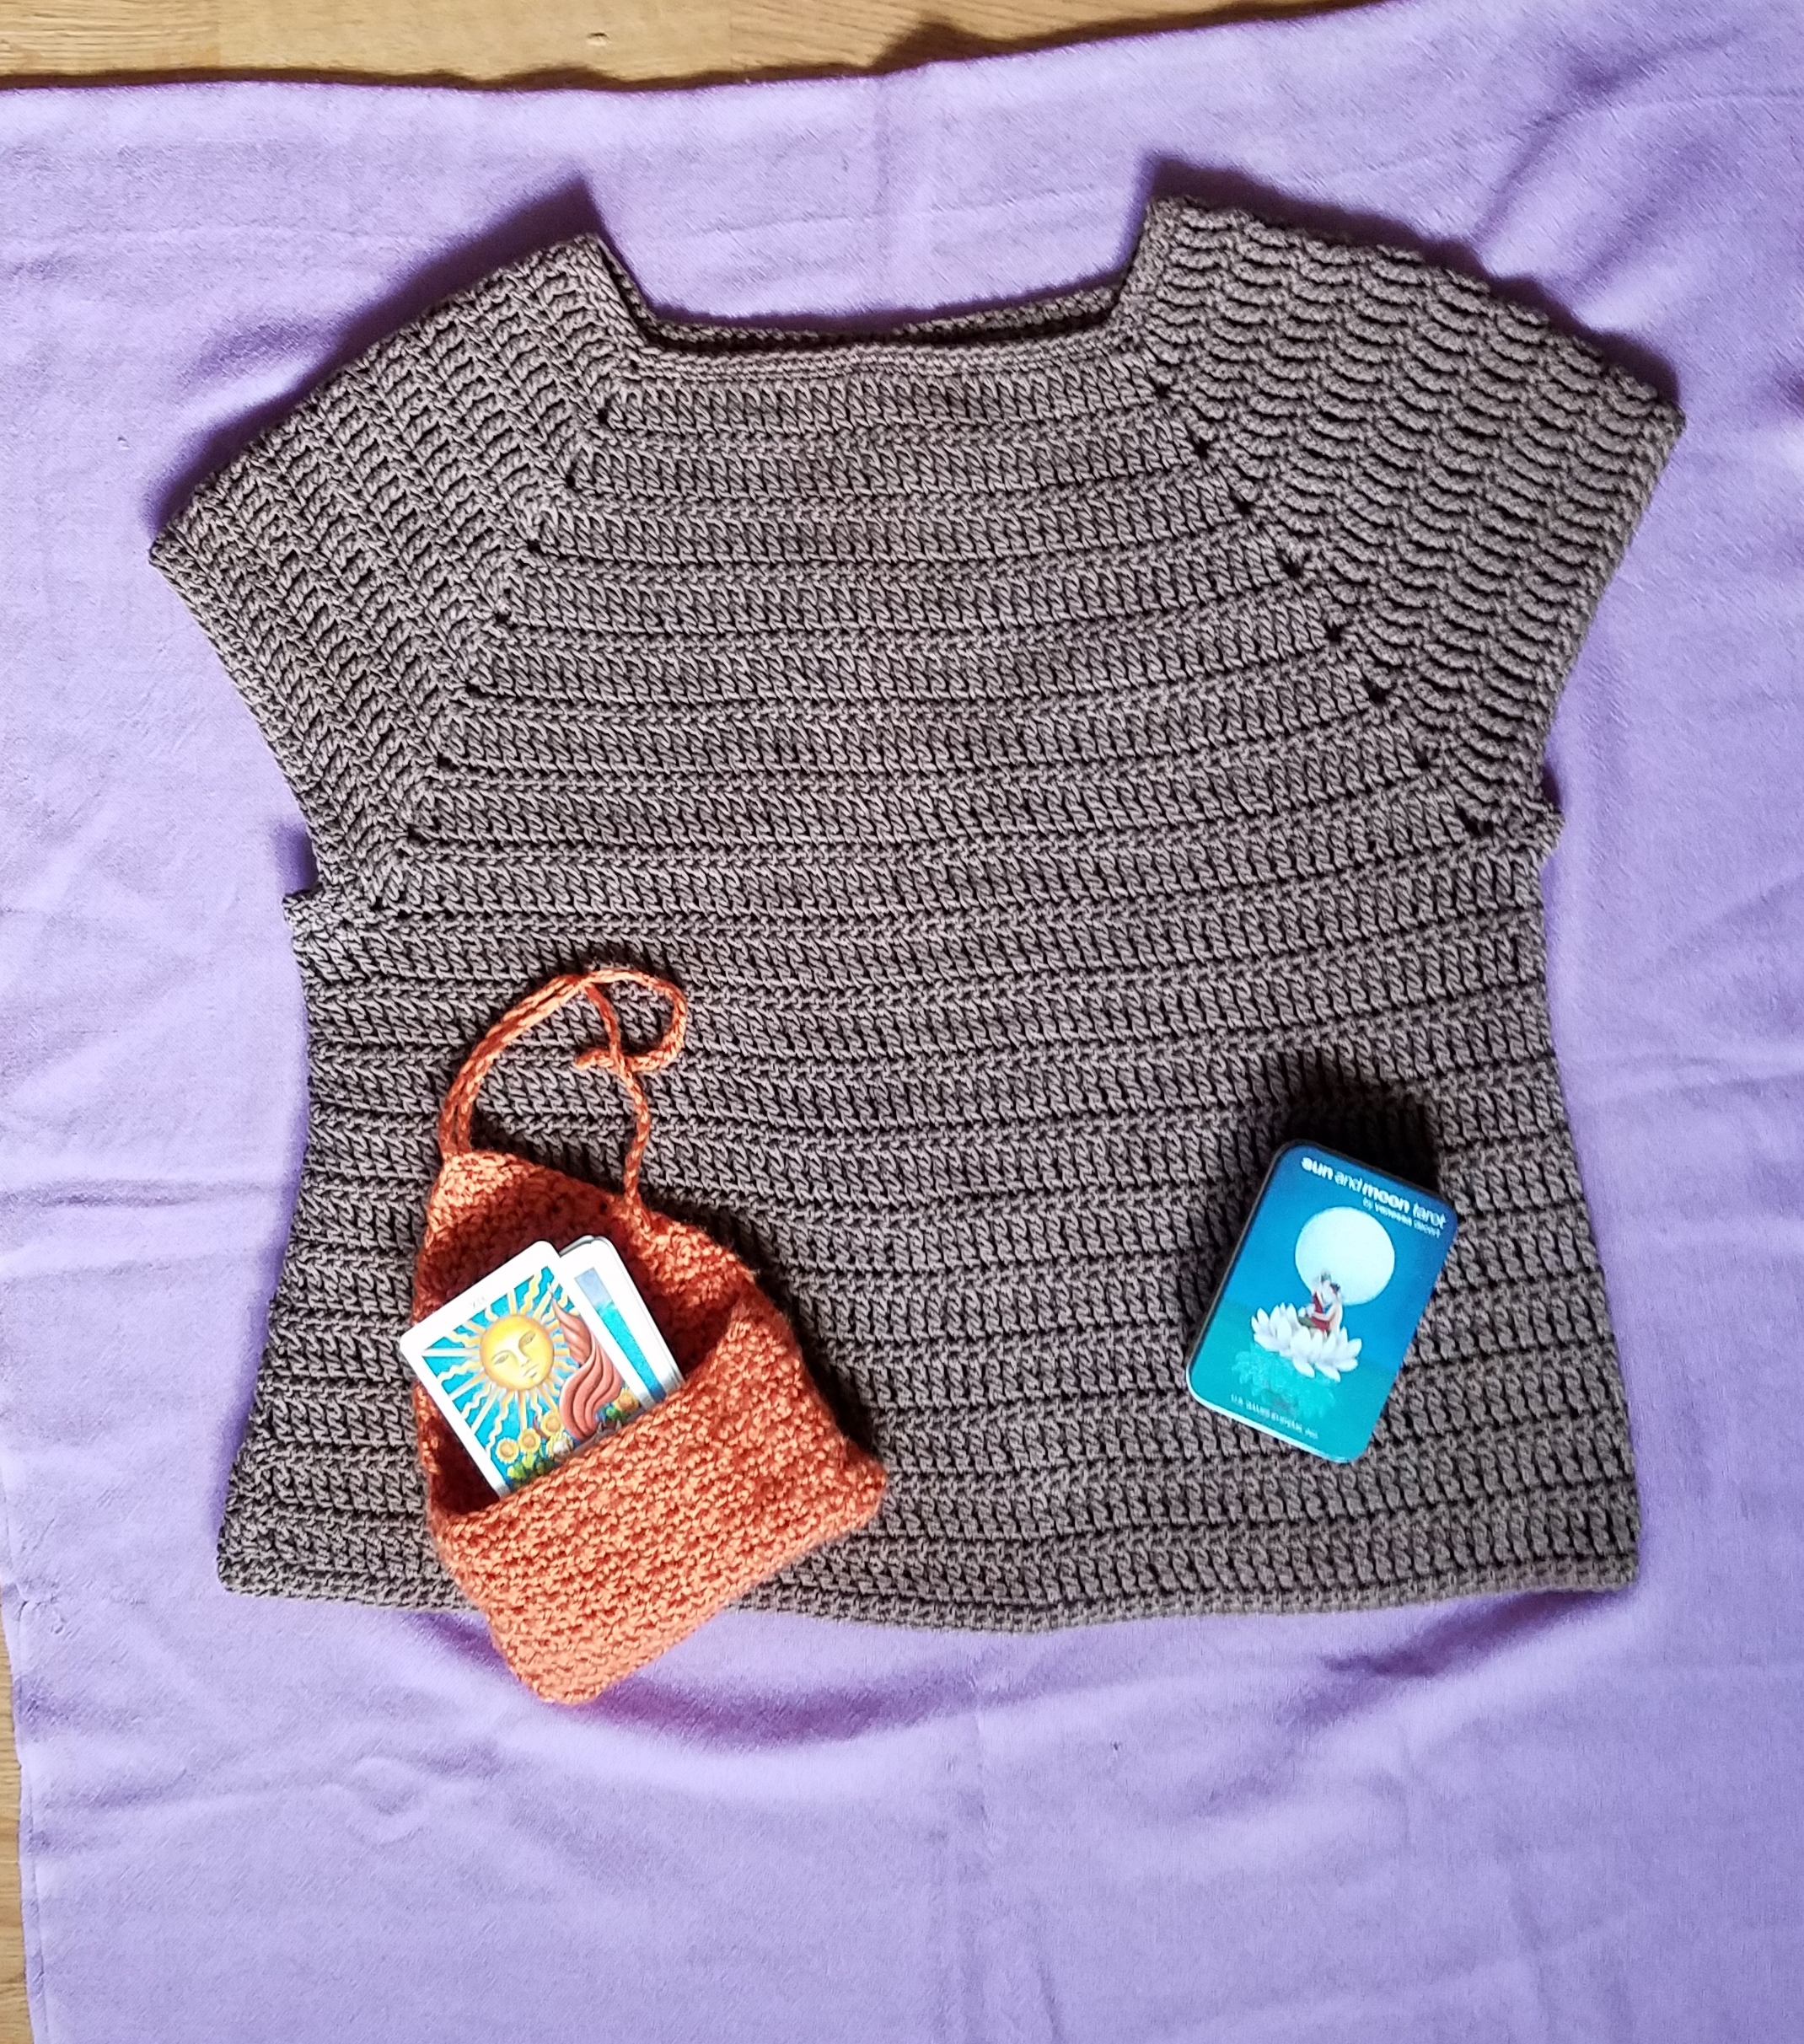
Crochet Photo Patterns
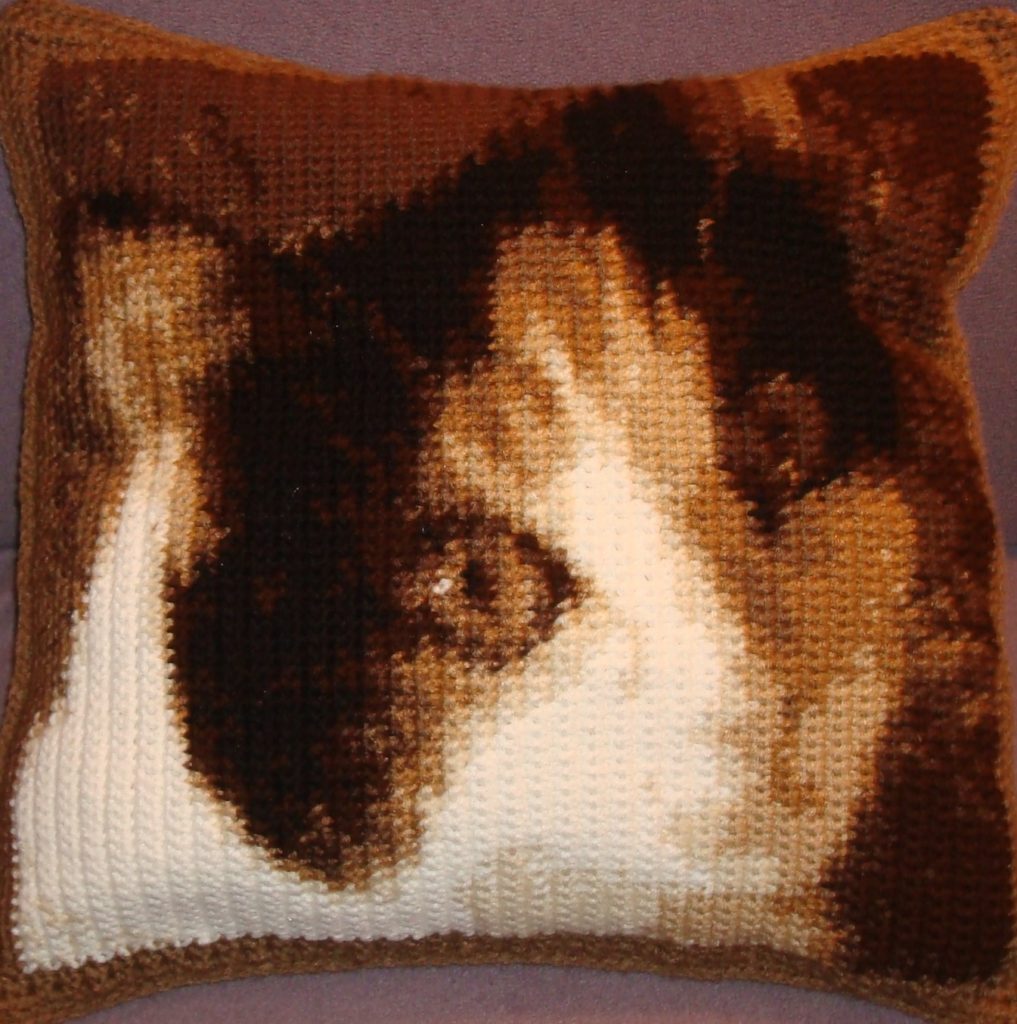
Let me show you how to create beautiful crocheted art with my easy-to-follow “word” patterns.
Shop
You’ll find crochet design resources, as well as free and paid patterns. You’ll also find instructions for ordering custom crochet photo patterns based on your own images and photos.
Information-Packed Blog Posts
I’ve accumulated 15+-years worth of blog posts chock full of information on many aspects of crochet. Browse at random or search for specific information.
Can’t find something or have a question? Feel free to contact me using the contact form or email me directly at patrice@yarnoverpullthrough.com.