From time to time, we all need to take a break from crocheting, if only to rest our hands. But sometimes, those breaks can turn into a new passion. Don’t worry, I’m still crocheting, but I’ve also caught the zentangle bug and can’t seem to shake it. Fortunately, it’s the kind of bug I don’t mind catching.
Art and Therapy Rolled into One Creative Practice

The great thing about zentangles is that you don’t need to be an artist to produce decent looking art. I’m certainly not, but I think I’ve produced some nice pieces, if I must say so myself (I created all of the pieces in this article.).
The term, zentangle, was coined by calligrapher, Maria Thomas. and former Buddhist monk , Rick Roberts, to describe a technique that involves drawing “structured patterns” called tangles and combining them to create an abstract piece of art. The images are drawn on 3.5” x 3.5” “tiles” which allow them to be completed in a relatively short period of time.
Drawing zentangles has therapeutic as well as artistic value. It –
- Is Relaxing
- Generates a state of focus and mindfulness
- Reduces anxiety and stress
- Builds self esteem
- Improves fine motor skills and eye-hand coordination
- Enhances the ability to concentrate.
“Tangling” has even been used successfully in addiction and anger management therapy.
Zentangle Tools

Another great thing about creating zentangle art is that you don’t need a lot of tools to create your artwork. Paper or tiles to draw on, a set of pens, and a pencil are all you need to get started. I’ve included a few more tools in the list below, as well as some books and websites that will help you learn to tangle.
Ink pens – I’m using Sakura Micron pens which I purchased in a six-pen set. Each pen has a different size “nib” or tip, from fine (.20 mm) to thick (.50 mm). You’ll probably start off like I did using one tip size, .25 mm. As you become more skilled, you can use other tip sizes to create specific effects.
I also use a fine-point Sharpie for filling in large spaces with black ink. But be careful because they tend to bleed through the paper. A stiff piece of cardboard under your paper or tile will keep the ink from soiling your working surface.
Tiles/Sketchbook – The official Zentangle Method uses 3.5” square tiles made of acid-free paper. The small tiles enable you to create a piece fairly quickly and keep you from being overwhelmed.
Since I already had an artist’s sketchbook that had been sitting in my bookcase for years, I decided to use that and simply create a 3.5” square outline on the page in which to draw my tangles.
If you go the sketchbook route, make sure you choose one that contains good quality, mixed media paper. This ensures that the ink in your pens won’t bleed through. I purchased a 5” x 7” sketchbook that I’ll start using when I use up the paper in the one I already have.

Pencil – Any #2 pencil will do. The pencil is used to add shading to your tangles.
Blender stumps – Blender stumps are pencil-like tools that are used for blending and smoothing out your pencil shading.
Zentangle Books – I like to learn new stuff from books, so I have a few to recommend if that’s your learning style too.
- One Zentangle a Day – I like this book because it moves you slowly through the process of learning the tangle patterns. You learn a few patterns at a time, as well as how to combine them to create eye-catching designs.
- Joy of Zentangle – This is another book that will teach you to tangle in an orderly, step-by-step fashion. It includes 101 tangle patterns to choose from to create your art.
- 3D Shading Fearlessly – Artist Eni Oken has produced a fabulous book on zentangle shading that you’ll definitely want to add to your collection. It comes as a soft cover book, or you can purchase the eBook.
Pinterest – As you might have guessed, there is a boat load of zentangle information, tutorials, and images on Pinterest. I’ve created a board where I collect images that inspire me, as well as instructions called “step outs” that illustrate how to create the tangles step-by-step.

YouTube – My second favorite way to learn to draw tangles is watching it done on YouTube. If I’m having problems understanding the step out, I’ll go to YouTube to see how it’s done. A simple “how to draw (name of tangle)” Google search is all you need to find some great videos.
To learn more about the Zentangle Method from its creators, check out Maria and Robert’s website . You’ll also find their Zentangle Kit which has all of the tools and instructions you need to get started.
Finally, there are lots and lots of websites and YouTube channels created by Certified Zentangle Trainers and artists where you’ll find even more information and instructions.
But What About Crochet?

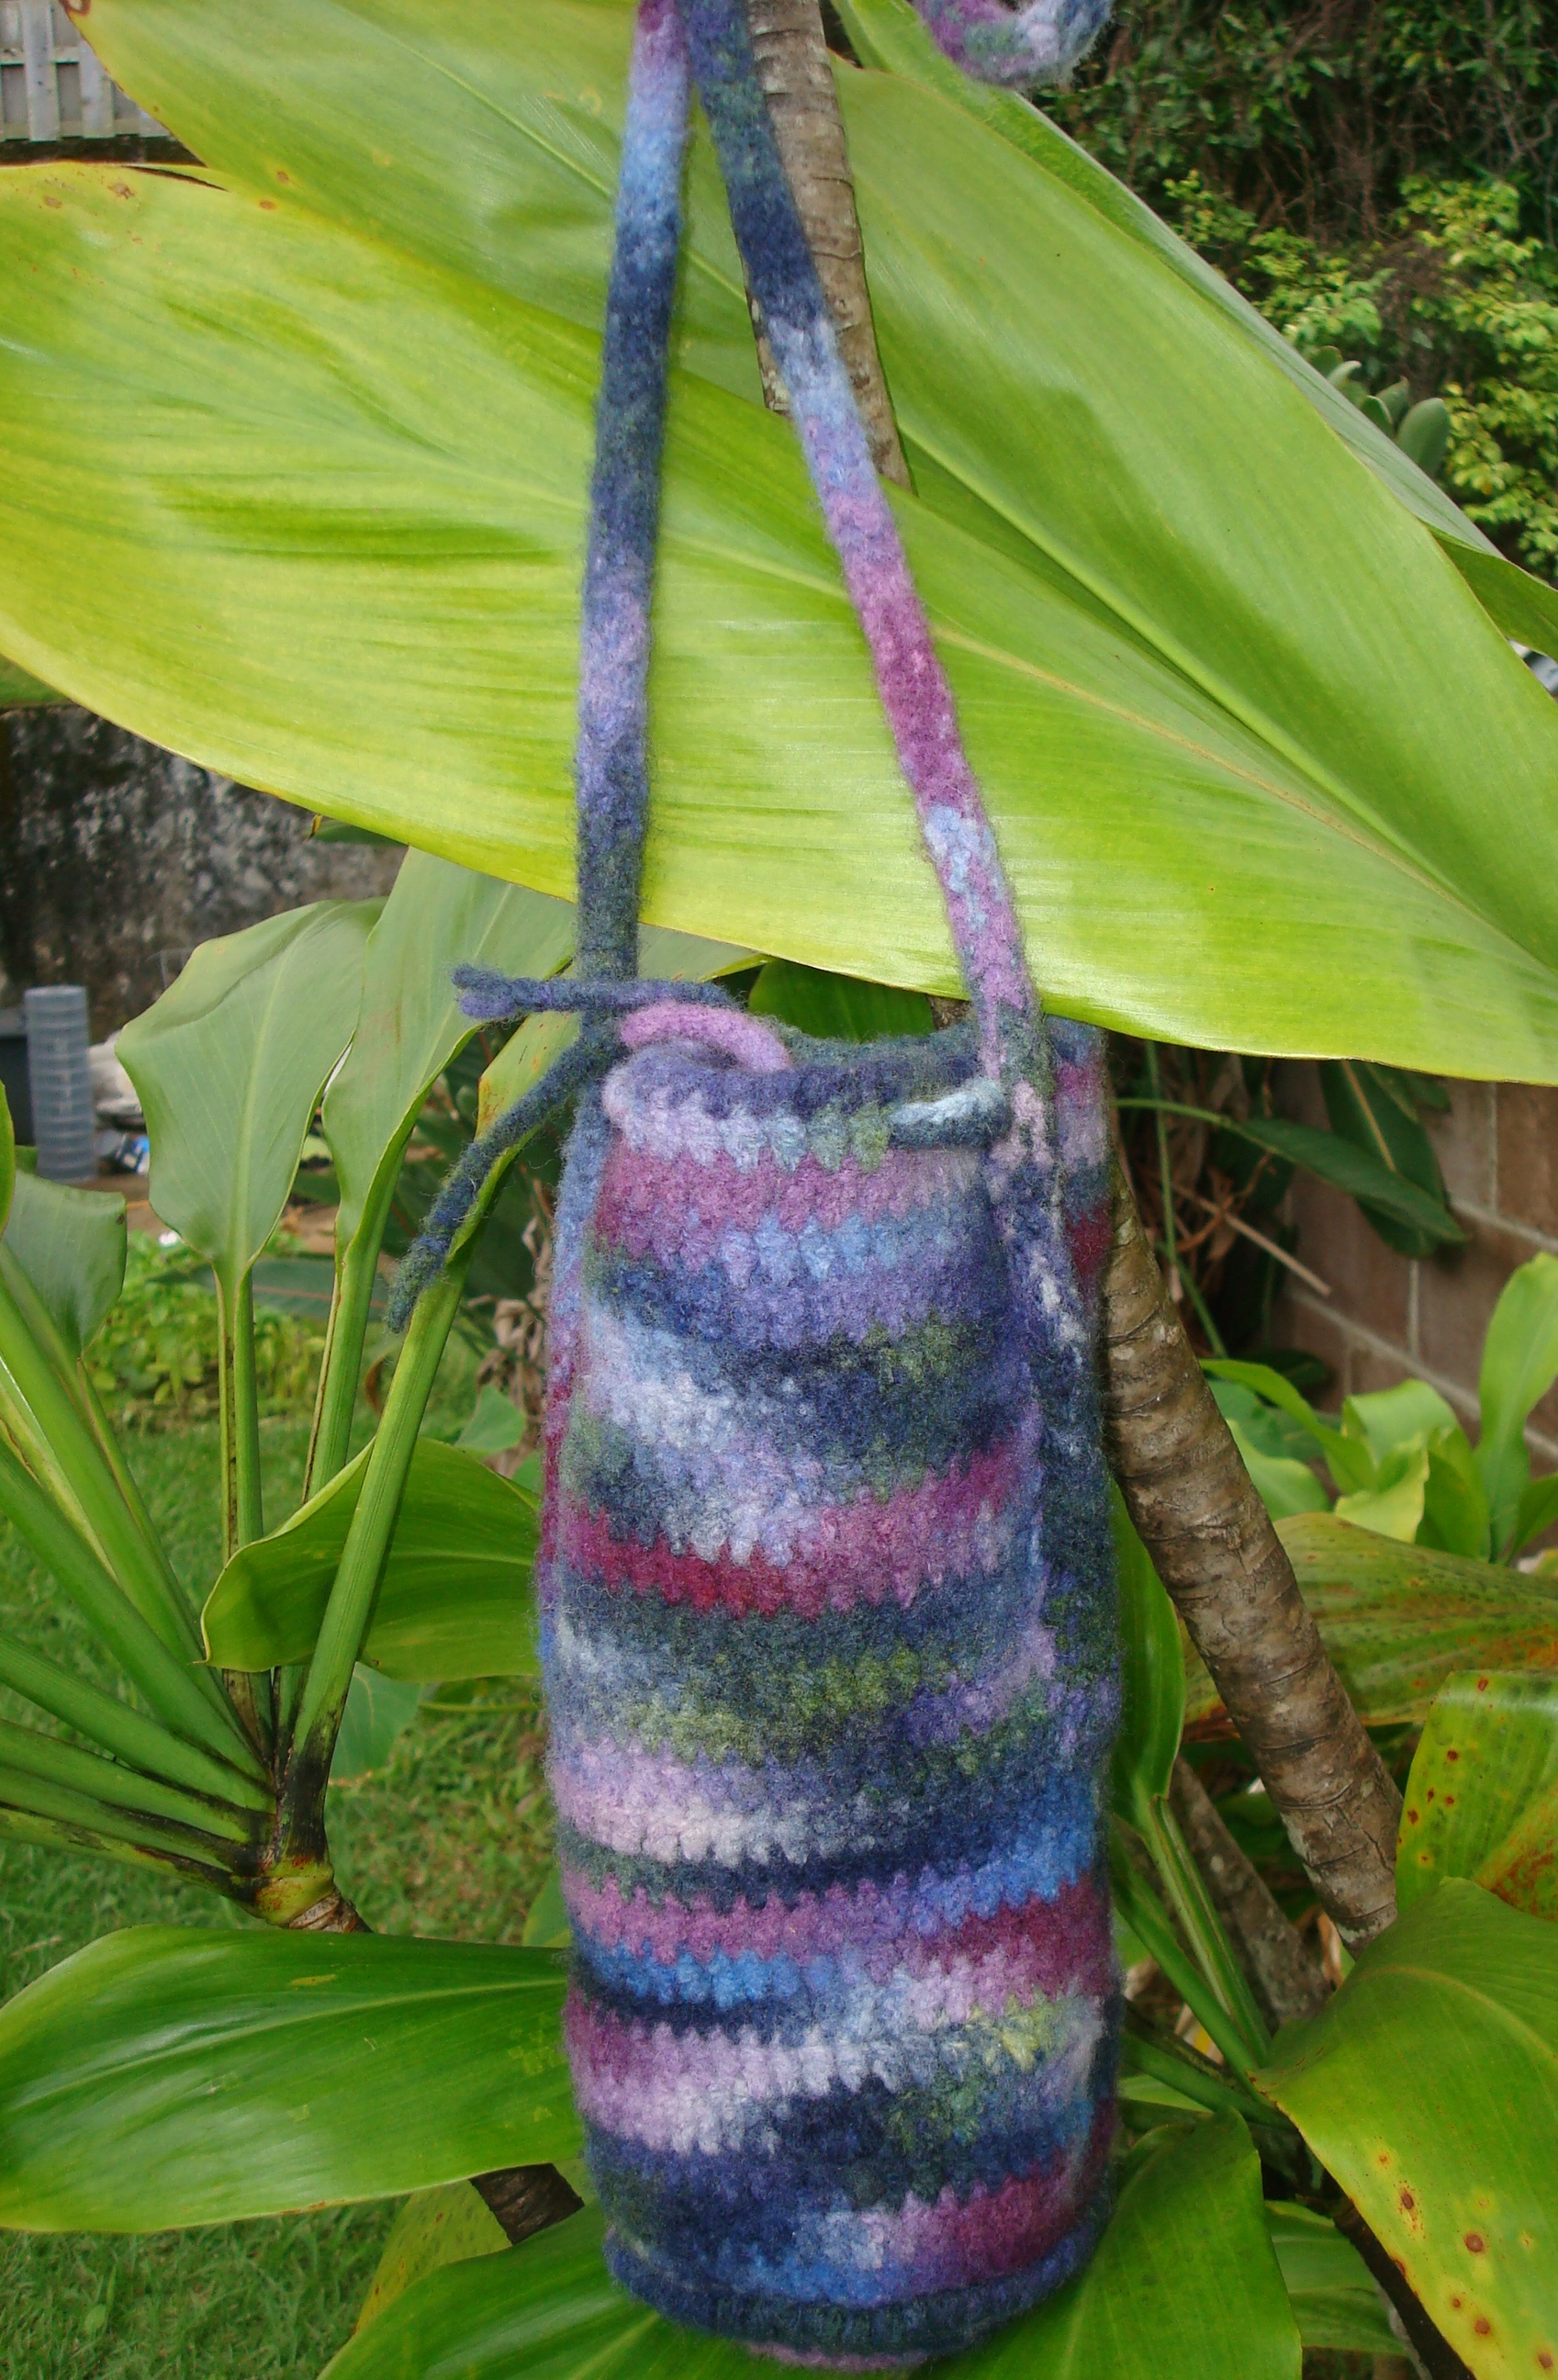
Never fear! There is no way I’ll ever stop crocheting. To prove it, I’ve included a photo of a Get Squared® shrug I’m making for a cute little girl. I’ll have more to say about it in a future post. And I bet I can find a way to combine zentangles and crochet, so stay tuned.
This post contains affiliate links. Read my Disclosure Policy for more information. Thanks for your support!