
Lately, I’ve been looking at crochet market bag patterns in anticipation of the plastic bag ban that takes effect in Hawaii this coming July.
Most of the patterns I’ve seen are for bags that have some kind of lacy mesh stitch pattern that, honestly, doesn’t look like it would hold up under the weight of heavy groceries or keep them in the bag. The kind of bag I want would have to be big enough and strong enough to hold the same amount of groceries you can put in a supermarket reusable bag.
Here’s how I went about modifying an existing pattern to create one.
The Pattern
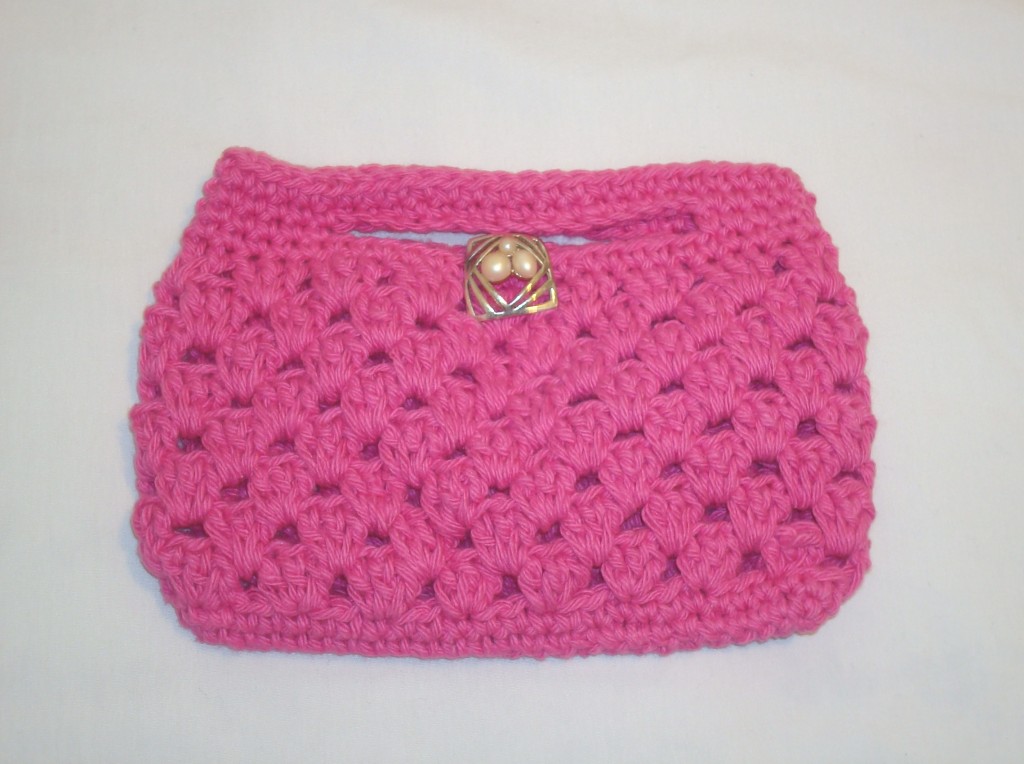
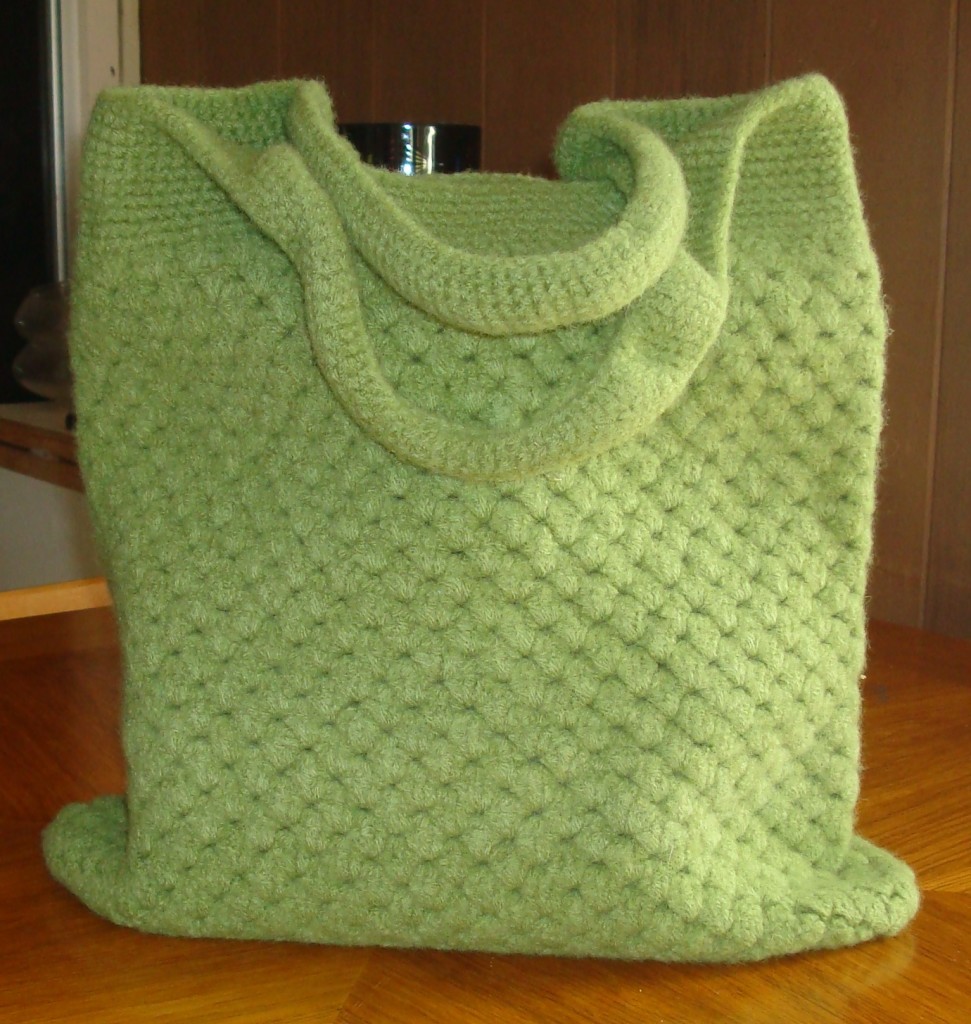
I based my big felted grocery bag on the Granny Stripe Boutique Bag pattern by Tangled Happy. I also saw a photo on either Facebook or Pinterest, showing a much larger bag that I could tell was based on the same pattern (because I’d already crocheted the smaller bag).
The photo gave me the idea to use the pattern as the basis for the reusable, crocheted grocery bag of my dreams. Bag strength would come from felting it.
Yarn and Hook
My “go to” felting yarn” is Cascade 220. I used 3 skeins in the color, Pesto (#0980). If you’re going to substitute a yarn, purchase at least 660 yards of worsted weight wool as close to 9 wraps per inch as you can get it. I used an H/5 mm hook; stitch markets came in handy as I crocheted in the round.
Pattern Changes I Made
To make a bigger bag, I –
Used a longer foundation chain. I didn’t count the number of chains, but simply made the chain a couple of inches longer than I needed, to account for shrinkage during felting.
To that, I added a few extra chains to ensure I had a stitch count that matched the stitch pattern multiple (explained below) on a long-enough chain. It’s easier to take out too many changes than to add chains when you don’t have enough.
Substituted half double crochet for the double crochet base. Half double crochet felts the best if you want to get rid of as much stitch definition in the fabric as possible. That’s the look I wanted for the base.
What I should have done was add an extra round to the base so that it was as wide as the two-round double crochet base. But that’s okay because that “mistake” has given me some ideas for my next grocery bag.
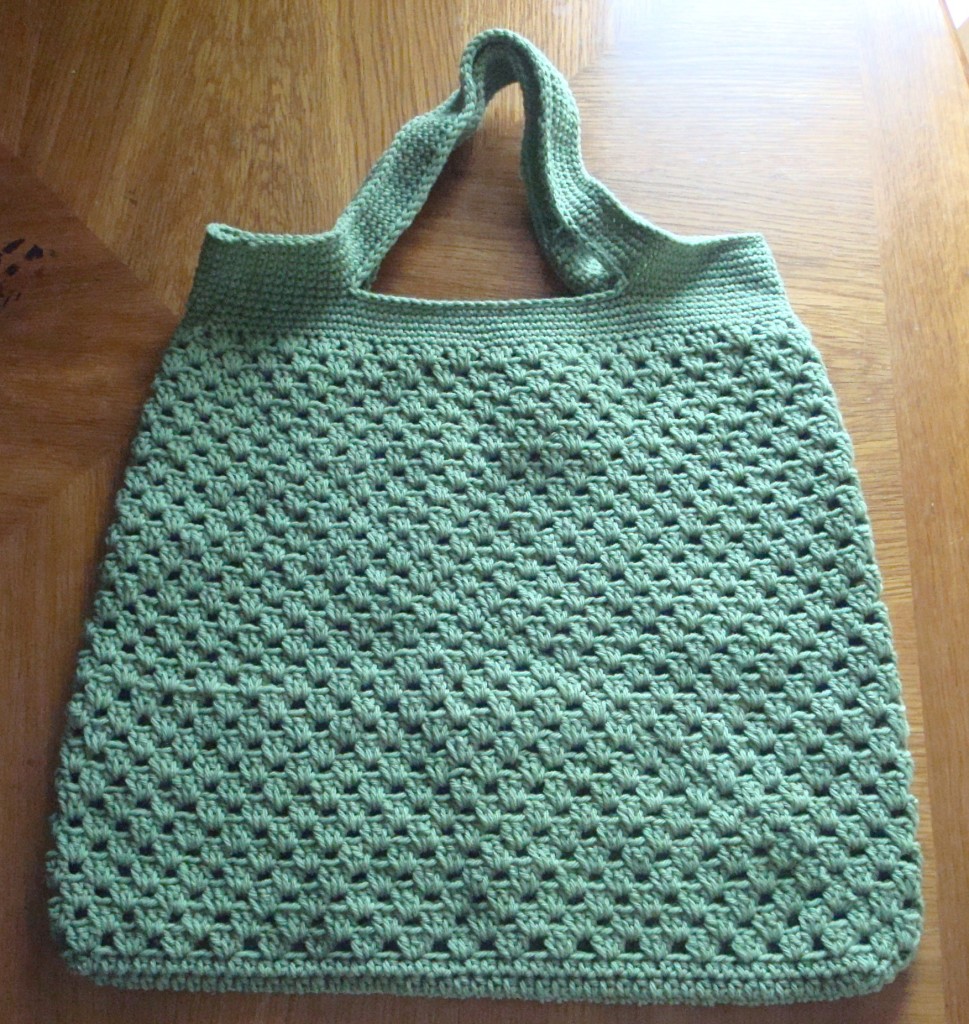
Increased at both ends of the two-round base. I put 3 stitches in the beginning and ending chains of round 1, and 2 stitches in those 3 increase stitches on the next round.
The main thing about doing the base is that the last round needs to be a multiple of 3 to accommodate the stitch pattern. I didn’t do any math or counting to figure this out. Needless to say, the number of stitches in the last round of my base was NOT a multiple of 3. So even though I had one stitch between the last 3-double-crochet group and the first one (instead of the 3 stitches I was supposed to have), no big deal! I knew felting would hide this “mistake.”
You can also change this pattern by making a wider base or even a square base, as long as the number of stitches in last round of the base is a multiple of 3. You can even change the stitch pattern of the purse body. Just be sure that the number of stitches in the last round of your base is a multiple of your new stitch pattern.
Important Note: For this granny stitch pattern, you need an even number of 3-double-crochet groups. This way, you’ll have an even number of stitches that you can divide in half for the front and back of the purse when it’s time to crochet the top edging and handles.
Crocheted more rounds for the bag body. In addition to the longer chain, this is the main way to increase the size of the bag.
Made longer handles. I wanted to be able to sling the bag over my shoulder, but the 60 total stitches I used for the handle wasn’t enough. I’d like a little space between my arm pit and the top edge of the bag, so next time I’ll try 80 to 100 stitches in the handle.
Slip stitched around all outer edges. I figured the slip stitch edging would give the handles a bit more stability and strength.
Felting
I felted this bag in the dryer. Before felting, the bag measured 17” wide at the middle and 17 ½” from the top edge to the base.
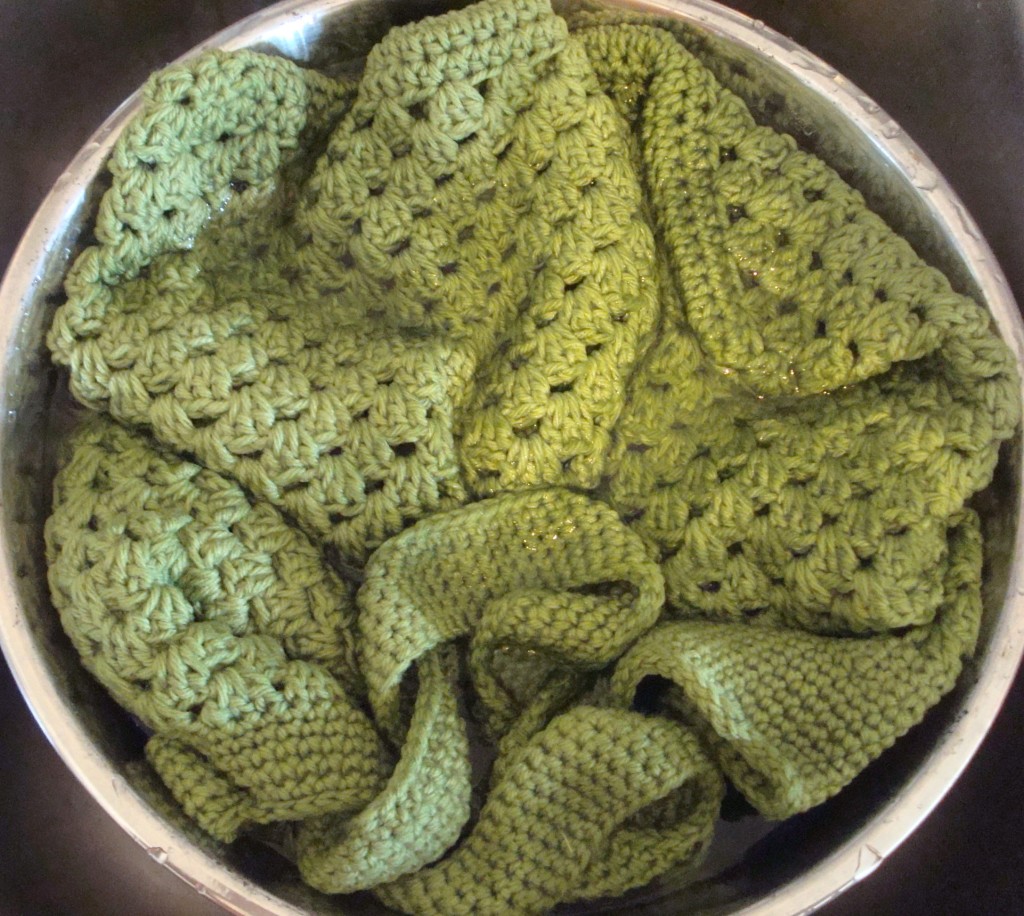
I soaked the bag in water until it was thoroughly wet. After gently pressing out as much excess water as I could, I put it in a pillow case and threw it in the dryer, along with some wet towels. I let the bag dry on high heat for about 30 minutes, checking every 10 minutes or so on the felting progress.
After 30 minutes, it still wasn’t felted enough but almost dry. So I dunked the bag in water a second time, just to get it damp, pressed out the excess water, and put it back in the pillow case and dryer for another 15 to 20 minutes.
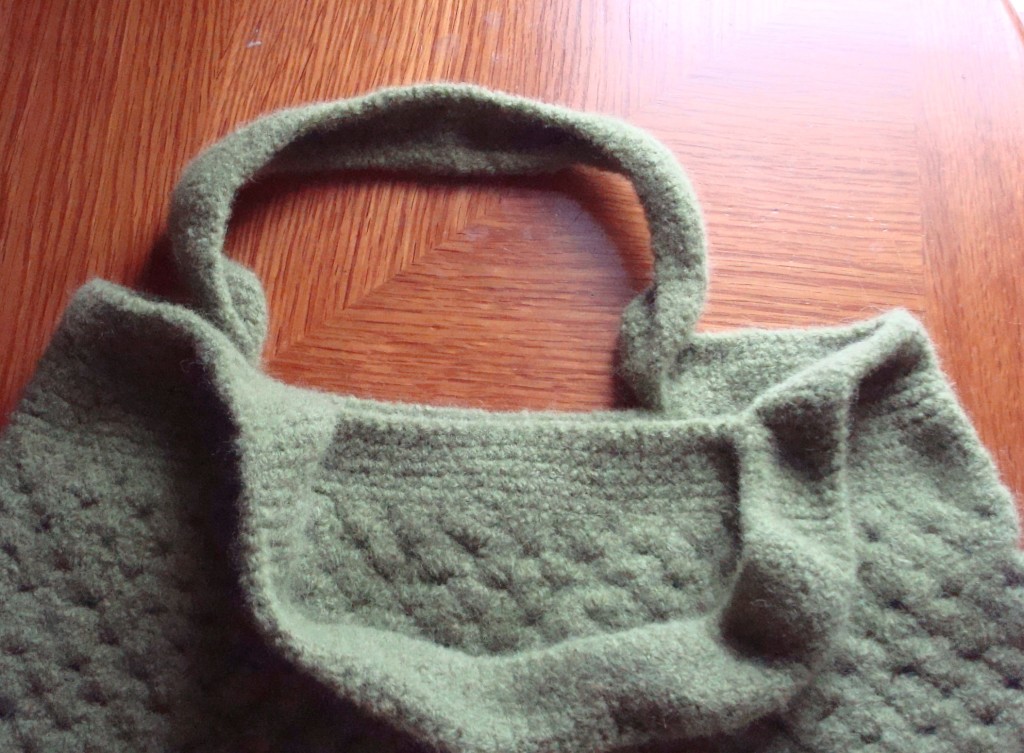
Now the bag had felted enough, but it was still damp. I didn’t want to put it back in the dryer, or it would have felted even more. So I laid it out flat with a towel stuffed inside to dry overnight . The outside of felted bags tends to dry faster than the inside, so a dry towel on the inside helps absorb moisture and speed up drying.
I also tried finger blocking the handles while they were wet to straighten them out because they were curling under. But even after being completely dry, they still curl. No worries. It’s a nice design element and provides extra padding for the hands.
The dry, felted bag measures 14” wide and 15 ¼” long; it shrank a lot more in width than it did in length. So you probably want to make your felted bags around 3 inches wider and 2 inches longer to get the size after felting you want. Better yet, crochet some swatches with your wool, and compare their measurements before and after felting to get an accurate measure of how much the wool will shrink.
If you can’t find the pattern you’re looking for, find one that comes close to your ideal finished piece, and see if you can modify it to meet your needs. You’ll learn something about crochet design in the process.
I’m thinking of using the same pattern again, but this time adding a square base and creating different handles. So stay tuned!
This post contains affiliate links. Read my Disclosure Policy for more information.


5 comments On Modify an Existing Crochet Pattern When You Can’t Find the One You’re Looking For
I usually felt stuff by accident, but your bag looks awesome post felting. I bet this bag is far nicer on the hands then an ordinary plastic shopping bag too.
Thanks so much Stella. I’m looking forward to making more.
Love the tutorial on modifying a pattern! Great job!
Thanks Rachel. Glad you found it helpful!
Pingback: Crochet Market Bags | Yarn Over, Pull Through ()
Sliding Sidebar
Categories